
HOW TO CLEAN AN EVAPORATOR COIL: A COMPLETE STEP-BY-STEP GUIDE
- SURESH K
- Aug 26, 2025
- 2 min read

The evaporator coil in an air conditioning system is a crucial component responsible for absorbing heat from indoor air. Over time, these coils can accumulate dust, dirt, grime, and sometimes mold, which reduces your HVAC system's efficiency and can cause higher energy bills or even breakdowns. Cleaning the evaporator coil regularly—typically once a year during routine maintenance—helps maintain optimal cooling performance and indoor air quality.
When to Clean the Evaporator Coil
Most HVAC professionals recommend cleaning the evaporator coil annually, especially before the start of the cooling season. If you notice reduced cooling efficiency, higher energy costs, or water leaking around the indoor unit, these could be signs that the coil needs cleaning.
What You’ll Need
Screwdriver (to remove access panels)
Soft-bristle brush or coil brush
Vacuum with brush attachment
Fin comb (for straightening bent fins)
Manufacturer-approved coil cleaner (foam type is common)
Protective gloves and goggles
Spray bottle or garden sprayer (for rinsing, if needed)
Step-by-Step Cleaning Procedure
1. Turn Off Power
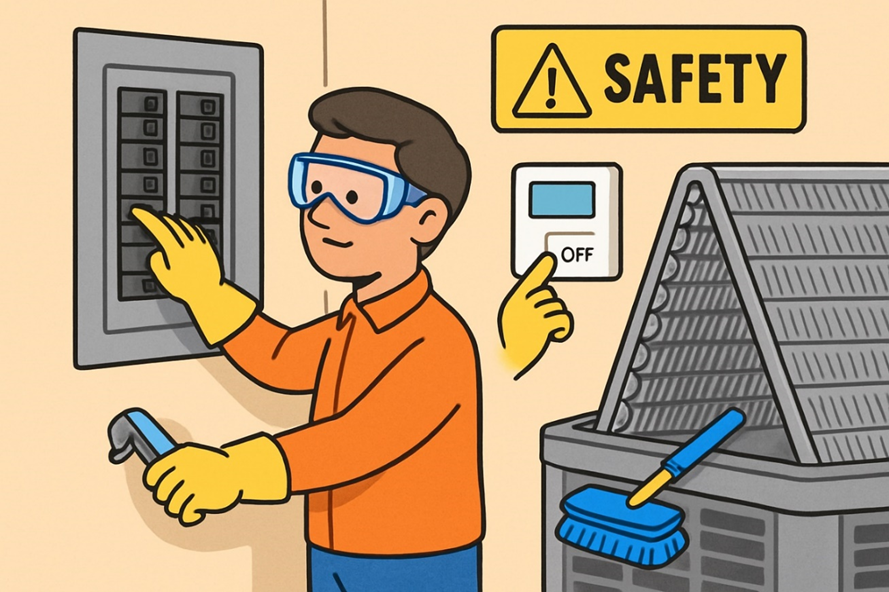
Before beginning any work, turn off the HVAC system at the circuit breaker and thermostat to ensure safety. Never attempt to clean coils while power is on.
2. Access the Evaporator Coil.

Locate the evaporator coil inside the air handler unit, typically found in a closet, basement, or attic. Remove the screws and access panel gently to expose the coil.
3. Inspect the Coil

Check the coil surface for dirt, dust buildup, grease, or mold. Also, inspect the surrounding area and condensate drain for any clogs or debris.
4. Dry Cleaning First

Use a soft brush and a vacuum with a brush attachment to gently remove loose dust and debris from the coil surface, taking care not to bend any delicate aluminum fins.
5. Apply Coil Cleaner

Spray a chemical foam coil cleaner designed for evaporator coils evenly over the coil surface. Let it sit for the time recommended by the manufacturer (usually 10–15 minutes). The foam helps dissolve grime and buildup.
6. Rinse if Required

In many cases, evaporator coil cleaners do not require rinsing. If rinsing is needed, carefully spray the coil with low-pressure water ensuring not to damage the fins or wet electrical components. Use a spray bottle or garden sprayer for control.
7. Straighten Bent Fins

If any coil fins are bent, use a fin comb to carefully straighten them to maintain proper airflow.
8. Clean the Drain Pan and Line
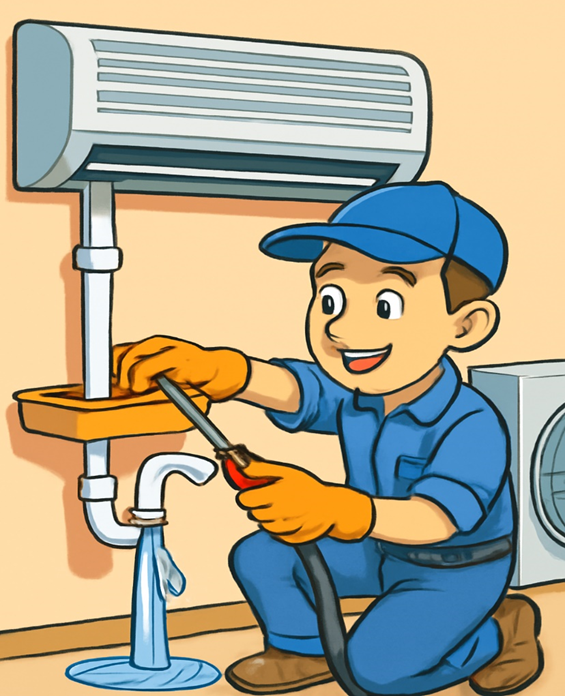
Check and clean the condensate drain pan and drain line to remove any blockages that can cause water damage.
9. Replace the Access Panel and Restore Power

Once the coil and surrounding area are clean and dry, replace the access panel and restore power to the HVAC system. Turn the unit on and observe to ensure it’s running smoothly.
Tips for Maintaining Clean Coils
Change HVAC air filters regularly to reduce dust buildup on coils.
Keep the area around the air handler clean and clear of dust and debris.
Schedule professional HVAC tune-ups annually for thorough inspections and cleanings.


Comments